By: Sarah Lohm, MS
Hard-boiled eggs are one of those kitchen basics that seem simple, until you cut one open and realize the yolk isn’t quite as expected or half the egg white comes off right along with the shell. Before you give up on hard-boiled eggs altogether, we’re here to help! With a few simple tips and the right cooking time, you can get the texture you’re looking for and make peeling a whole lot easier.
It All Comes Down to Timing!
Whether you like a soft, runny yolk or a fully cooked center, just a few minutes in the pot can make a big difference! I’m usually a pretty big “eyeball it” person in the kitchen, but when it comes to hard-boiled eggs, I like to know exactly how long they’ve been cooking so I can get them just the way I like them every time. Here’s a look at what you can expect at different cooking times:
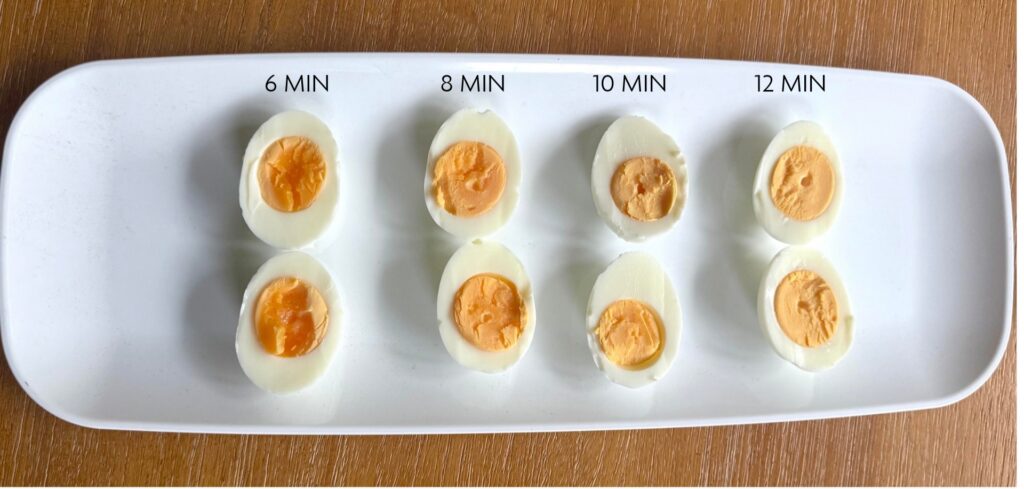
6 minutes: Soft and Slightly Runny
A soft, runny center that pairs well with toast, breakfast bowls, or dishes where you want the yolk to add a little extra richness.
8 Minutes: Jammy and Creamy
A creamy, slightly set center that gives you the best of both worlds. The yolk is soft without being completely runny.
10 minutes: Mostly Set
A tender yolk that is mostly cooked through with just a little softness in the center. This is a great option for salads, grain bowls, or snacking.
12 minutes: Fully Set & Firm
A firm, fully set yolk: the classic hard-boiled egg. This is a great choice for egg salad, sandwiches, salads, and recipes that call for chopped or sliced hard-boiled eggs.
These times are based on starting with cold water and eggs, bringing the water to a rolling boil, then turning off the heat, covering the pot, and letting the eggs sit in the hot water. Cooking times can vary slightly depending on egg size and your stove, so use these as a starting point and adjust to your preference.
Our Go-To Method for Hard-Boiled Eggs
Now that you know how the timing affects the yolk, here’s a simple method we use to make a batch of hard boiled-egg.
What you’ll need:
- Large Eggs, preferably cold from the refrigerator
- Cold water, enough to fully cover the eggs by about 1 inch
- Ice
- Cold water, for the ice bath
- A medium saucepan with a lid
- A slotted spoon or large spoon for transferring eggs
- A timer
Instructions:
- Add the eggs to a saucepan. Place the eggs in a single layer on the bottom of the pan. Avoid overcrowding the pan, as this can make it more difficult for the eggs to cook evenly.
- Cover with cold water. Add enough cold water to cover the eggs by about 1 inch.
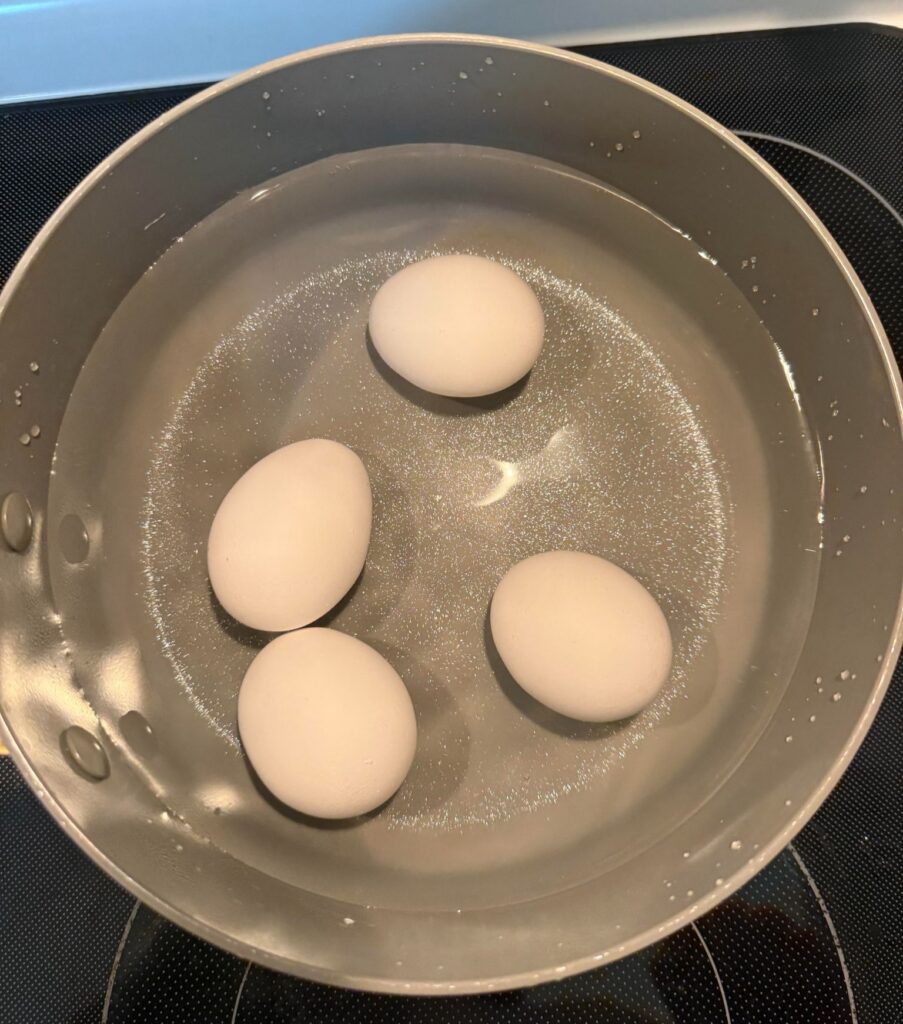
- Bring the water to a rolling boil. Place the saucepan over medium-high heat and bring the water to a full, rolling boil.

- Turn off the heat and cover. Once the water reaches a rolling boil, remove the saucepan from the heat and immediately cover it with a lid. The eggs will continue cooking in the hot water.
- Set your timer. This is where you can customize your eggs based on your preferred yolk:
- 6 minutes: soft and runny
- 8 minutes: jammy and creamy
- 10 minutes: mostly set with a tender center
- 12 minutes: fully cooked and firm
- Prepare an ice bath. While the eggs are cooking, fill a large bowl with ice and cold water. The ice bath should be ready to go as soon as the eggs are finished.
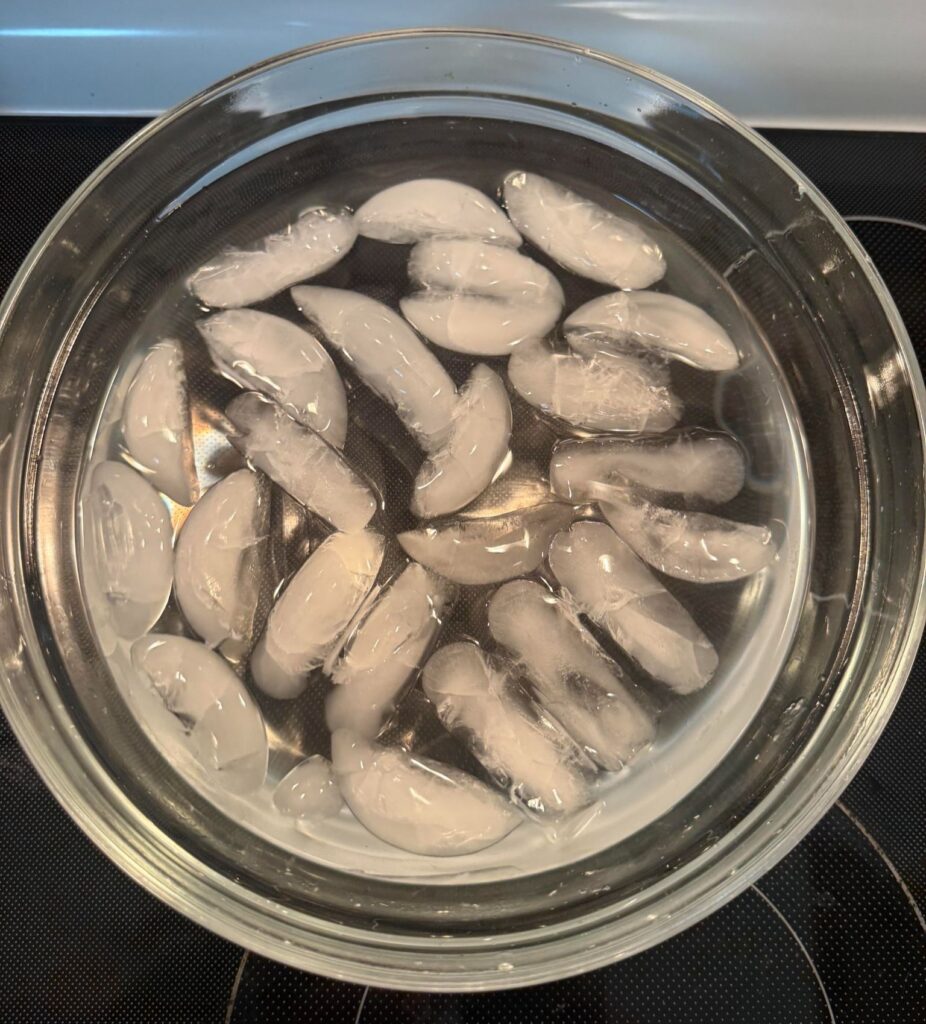
- Transfer the eggs to the ice bath. Once your timer goes off, carefully remove the eggs from the hot water using a slotted spoon and place them directly into the ice bath. This quickly cools the eggs and helps stop the cooking process.

- Cool before peeling. Allow the eggs to sit in the ice bath for at least 5–10 minutes before peeling. For the easiest peeling, you can allow them to cool completely.
- Peel and enjoy. Gently tap the egg against a hard surface, then peel away the shell. Starting at the wider end of the egg can make it easier to get underneath the shell.
Tips for Easier Peeling
Once you have your preferred yolk consistency down, peeling is the next step. While some eggs will naturally peel more easily than others, a few simple tricks can help.
Use an Ice Bath: Transferring the eggs directly from the hot water to an ice bath quickly cools them and stops the cooking process.
Give Time to Cool: Allow the eggs to cool in the ice bath for at least 5–10 minutes before peeling. If you aren’t in a hurry, letting them cool completely can make them easier to handle.
Start at the Wider End: The wider end of the egg often has a small air pocket underneath the shell, which can give you a good place to start peeling.
Peel Gently: Tap the egg gently against a hard surface and peel away the shell, working your way around the egg. If you’re having trouble, peeling under a small stream of water can help loosen the shell.
How to Store Hard-Boiled Eggs
Hard-boiled eggs are a great option to prepare ahead of time and keep in the refrigerator for quick meals and snacks throughout the week.
For the best quality, keep cooked eggs refrigerated in their shells until you’re ready to eat them. If you’ve already peeled the eggs, store them in an airtight container in the refrigerator.
When you’re ready to use them, add them to breakfast, slice them over a salad, make egg salad, or enjoy one on its own for a simple snack.
Ready to Put Your Eggs to Use?
Now that you know how to make hard-boiled eggs…and how to get the yolk exactly how you like it…it’s time to put your batch to use!
Hard-boiled eggs are an easy way to add protein to meals and snacks, and they can be prepared ahead of time for a convenient option throughout the week.
Here are some of our favorite ways to incorporate eggs throughout the week!
- Add to a snack plate with crackers, cheese, and veggies
- Keep a couple in the fridge for an easy grab-and-go option
- Slice onto avocado toast
- Add to a salad or grain bowl
- Pair with fruit and toast for breakfast
Looking for a recipe to use your hard-boiled eggs? Try our Simple Healthy Egg Salad for an easy way to put your batch to use.